Thursday 25 September 2014

DIY Jewelled Sweatshirt


A while ago I became obsessed with rhinestones. Not the cheap plasticy ones they're always using on clothing at department stores but the real, sparkly, jewellery quality rhinestones. I looked at a few craft stores in KL and PJ but in the end I purchased mine from China via Ali Express. The price was not so much different than purchasing the acrylic ones here (sometimes cheaper compared to stores selling them in packets of 5 or 6) but the quality was so much better. 

Here is an easy DIY to bejewel (be-rhinestone?) your sweatshirt with rhinestones that look 100x more expensive than those you'll find in a mid-range store.
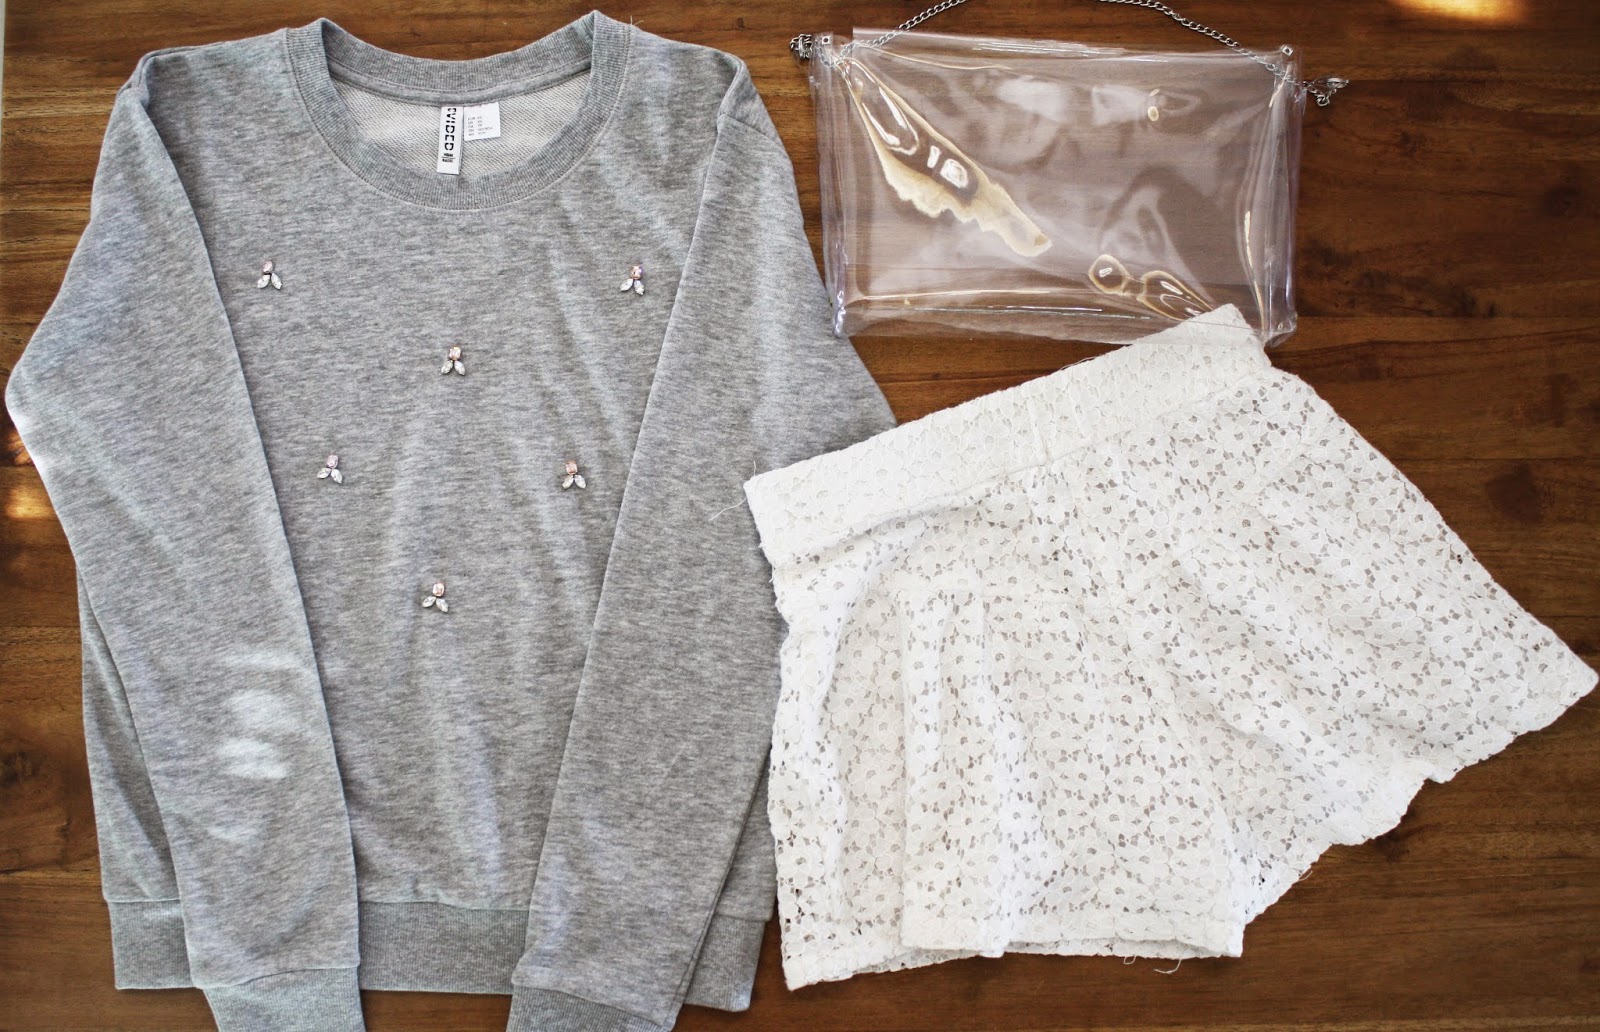
You'll need:
A sweatshirt (I bought mine from H&M for RM49.90)
Rhinestones of different shapes/sizes preferably 
Needle and Thread
Scissors 
Fabric Chalk (optional - you can just wing it)

First lemme show you the stones up close. This photo doesn't really do it justice, but can you see how the light catches it at different angles? At night if you move them around slowly they refract light almost like a disco ball. I'm not an expert on rhinestones but looking at these, I feel certain that they are not acrylic. The acrylic ones in the store are much less shiny and they usually have scratches on them that can add to the dull look. Blegh!

When searching for these on Ali Express, I specifically looked for crystal rhinestones (not acrylic or glass) and I wanted them set in this way with the claws so I looked for sew on and claw setting. In the end I paid something like RM65* for 200 rhinestones including shipping. 


The first step is to spend some time marvelling at your beautiful stones and arrange (and rearrange and rerearrange) them onto your sweatshirt. When you're satisfied with the design then mark some guides with the chalk. Another way to do this is to stick them down with some fabric glue before sewing but I didn't.


The next step is just to hand sew them on one by one. This can be a tedious process. I sew them on individually instead of stringing them all on one thread to avoid puckering and minimise the risk of losing rhinestones.

In the photo above, I'm just showing you how the needle goes through the little holes in the claw setting. You would of course normally sew from the wrong side of the garment up.


Done! You can barely see the white thread.


If you want to order these same rhinestones, follow the links below. The store name is Yiwu XinZun Crystal Accessories on Ali Express.

Mixed Colours Rectangle Crystal: 
http://www.aliexpress.com/item/100pcs-lot-6x8mm-Mix-Color-Crystal-Rhinestones-Rectangular-Octagon-Glass-With-Metal-Claw-Settings-Sewing-On/1591561772.html

Clear Coloured Oval Crystal: 
http://www.aliexpress.com/item/Wholesale-5x10mm100pcs-lot-Flatback-Clear-Marquise-Crystal-Diamond-With-Metal-Claws-Settings-4-Holes-Sew-On/1811471669.html

Tuesday 15 July 2014

Spotlight Haul


This week Spotlight, an Australian bed, bath and craft superstore, opened their first store in Malaysia. No biggie... just 50% discounts on sewing machines that's all. 

Needless to say, I shopped. The place is amazing for craft supplies especially for those into sewing. I bought two types of scuba (neoprene?) fabric that I've been seeing everywhere and hopefully will make these into something wearable. I don't know how to sew but I've been thinking about learning and getting a simple sewing machine for a while now.This sewing machine normally costs over RM800; I purchased it for RM549 :O

I'm thinking though that some things are pretty pricey maybe because they bring in aussie brands. Thank goodness for the SALE! 

Things I would get here: 
Fabric (they have a more modern prints and fabric selection than places like Kamdar)
Party supplies (they have a bigger selection of cute things like chinese takeout boxes and cheap things like paper straws for RM8/20pc)
Assorted washi tape, ribbon, twine packs 

Things I would not get here:
Certain basic art supplies (some things like Mod Podge and Stretched Canvases are cheaper at Art Friend*)
Bed and Bath supplies (mainly because I think IKEA is cheaper and I don't mind their quality)

*I saw a sign that said they would match the price of any item found to be cheaper elsewhere. Need to check if this is true for all items or just the fabric.


I have so much hope for this fabric. Please be wonderful.


Assorted ribbon packs with all the mandatory colours and patterns.


Washi tape! Really good price I think.


More ribbon and baker's twine packs. 


My 1.5 metre cut of Scuba Knit in a bright aqua blue.


Iron-on patches. Probably the most adorable and overpriced thing we bought. 

Wednesday 9 July 2014

DIY: Canvas Art


A friend of mine is moving into a new apartment so I made her a housewarming gift! Her job requires a lot of creativity so I thought this would be a nice addition to her room. This project was super easy and took only one night to complete (with the help of my sister). It looks so good against my blackboard wall :( Must make one for myself too.


First things first, off to the craft store! We bought a 18x18 inch stretched canvas, Mod Podge, a bottle of regular craft glue, and a sponge applicator. I think we paid around...RM50 total? Mod Podge is a little expensive and I couldn't find my last bottle so I had to get a new one. If you have glue and Mod Podge already though then the canvases are a fair price. Our large one cost probably RM26 +-.


I was paranoid about using pencil on the canvas in case it wouldn't rub off so I drew out my letters on artblock first, cut them out and then arranged them on the canvas. When I was happy with the positions I stuck each letter down with a layer of Mod Podge. Somehow I still wasn't careful enough and if you look closely you'll see that it's slightly off-center and tilted. Boo. Next time I'll use a ruler.


Once the artblock guides are stuck down its just a matter of sticking layer upon layer of newspaper (or whatever filler you have around) until you get to the thickness desired. You can also just start with the book shreds but I wasn't sure at first if I wanted to use book pages or magazine pages so I did something neutral to fill it out. 

At this stage, I use the cheaper regular craft glue. Shred - Glue - Stick - Repeat.

How many layers of paper you do depends on the thickness you want. I wanted a little 3-D effect but got lazy after a while so I think we ended up doing three layers of newspaper and two layers of book shreds. If you want a more embossed look then more layers, MORE LAYERRRRSSS I SAY!


Once the last layer of book shreds was done, I covered everything in a layer of Mod Podge using the sponge applicator. The photo above was taken just after and you can see that it's glossy and the pages have a white-ish coat over them. I made sure to coat the edges too so that all the letters are extra secure and sealed in. 

Overnight, the whole thing hardens and dries clear.


My sister says that there's no order in decoupage but I disagree. Certain words or fonts you can pick out and place strategically for effect. Also, I found that it looked much more cohesive when I worked from one corner to another instead of randomly pasting all over and then going to patch the holes later.


Pretty...

This project was not only easy to do, it can be made so many different ways. My sister and I had so many ideas, like using our old Archie comics and Harry Potter books. In the end we decided against ripping apart good books though so we used some old old cheesy horror/sci fi books instead. Next time.

We bought our supplies at Art Friend. They have one of the largest craft supplies selections in KL.

Art Friend
Lot T-213, Level 3
The Gardens, Mid Valley
Opening Hours: 10am - 10pm
Tel: 03- 2284 7777

Saturday 22 February 2014

Earl Grey & Caramel Macarons


My third try making macarons. The first time - total disaster. The second time was better but I was so tired I didn't fill them. This time was okaaay. They're no TWG Macarons but after all that hard work I thought I should at least take some photos.


The hardest part - blending the almond pieces into almost powder consistency. WHY does no one sell Almond Flour in Malaysia??


Earl Grey tea leaves give the batter an interesting speckled look


I stopped shortly after this stage but I think I should have mixed more


Little blue pancakes resting before they get chucked into the oven


Yummy! Not too sweet thanks to the Earl Grey and salt in batter and caramel.

Results: Some of my macaron shells cracked and some did not develop feet. I think overall I was more successful using the Italian method. This time I wanted to try the French technique because it seemed easier but next time I'll definitely do the Italian. They weren't as temperature sensitive I guess. These macarons were baked at too low a temperature at first (around 125 celsius) and failed to develop much feet. The second batch I baked at 150 celsius and they were fine. By the last batch I'm thinking my oven had gotten too hot and almost all cracked.

Also, I suck at filling - gah! Next time I'm just going to pay for my favourite TWG macarons. 


I used a combination of these recipes:


Friday 14 February 2014

Cuisinart ICE-21 Review


I got a new Ice Cream Maker!! About a year ago I bought a Kenwood IM280 Ice Cream Maker. It worked OKAAYY but it wasn't great. Almost every batch of ice cream came out looking like cold sludge instead of the soft-serve consistency promised on the manual. WHYYYYYY?! I concluded that the machine simply wasnt made for our weather and sought out a better one.

The Cuisinart is not available in Malaysia but I got my mum to bring one back with her from the U.S. 

It's amazing. Just amazing.


The machine is extremely simple. It has four parts: the base which houses the motor, a clear plastic cover, the plastic paddle and a freezer bowl. Basically the same as the Kenwood except that the freezer bowl on the Cuisinart seems to be made of a different material. The Cuisinart freezer bowl is filled with some kind of liquid that you can hear sloshing around when it's warm. The Kenwood on the other hand doesn't as far as I can tell. I don't hear any liquid sloshing around even when its been sitting out of the fridge all day. I suspect this is the crucial difference which allows the Cuisinart to freeze liquids quickly to an almost solid state versus sweet sludge.

The one problem with the machine is the need for a Step Down Transformer. Because American machines are made for 120 volts whereas our plug points discharge 240 volts (or something), I had to get a transformer from ACE Hardware which was expensive and looks completely hideous. Bah.


Anyway, I made a custard based ice cream beforehand. This is it after having been in the refrigerator over night. Its already very thick and has a mousse-y consistency. I dump this in the Cuisinart!


The ice cream is a dark chocolate malt flavour so I crush some Malteser balls and throw them into the machine too.


Scraping some frozen ice cream off the sides

15 minutes later-------Tadaa! Soft Serve ice cream that I had to scoop out with a spoon. YUMMM.
With the Kenwood, I almost always poured the soupy cream out directly into a bowl. I'm happy now.

Overall, the Cuisinart ICE-21 is a better ice cream maker for our K.L/Malaysian weather. 

Freezing

The freezer bowl is colder and can churn ice creams with low egg and fat content. The Kenwood worked well enough with custard style ice creams with loads of eggs and heavy cream but wasn't able to turn out a smooth ice cream which didn't have lots of heavy cream and eggs in it. The Kenwood also tended to melt very quickly and by the 20th minute, the bowl begins to sweat and if left any longer the ice cream actually starts to get softer rather than harder. The Cuisinart on the other hand stays frozen for much longer and may even be able to handle two batches back to back. 

Size & Capacity

Both machines have a 1.5 litre capacity which is more ice cream that my family can eat most of the time. But the Cuisinart bowl is actually more compact and so doesn't use up as much space in my freezer.

Speed

Because the bowl is colder (and maybe because the bowl and not the paddle turns) it actually freezes much faster than the Kenwood. My custard ice cream only took about 10 mins in the bowl. Using the Kenwood, it generally took at least 20mins to get to a stiff enough consistency.